
 |
|
#1
|
|||
|
|||
|
Hi guys,
I thought you may be interested to learn how to convert a standard S12 suspension leg into a coilover setup. Well I was lucky enough to have bought a pair of standard legs from '30psi' (thanks Martin) on this fantastic community for £50.  They were in fine condition and was greatful for it (as these are like hen's teeth now!). I had the task of stripping the old springs off first which requires spring clamps and a bit of know how to avoid injury.  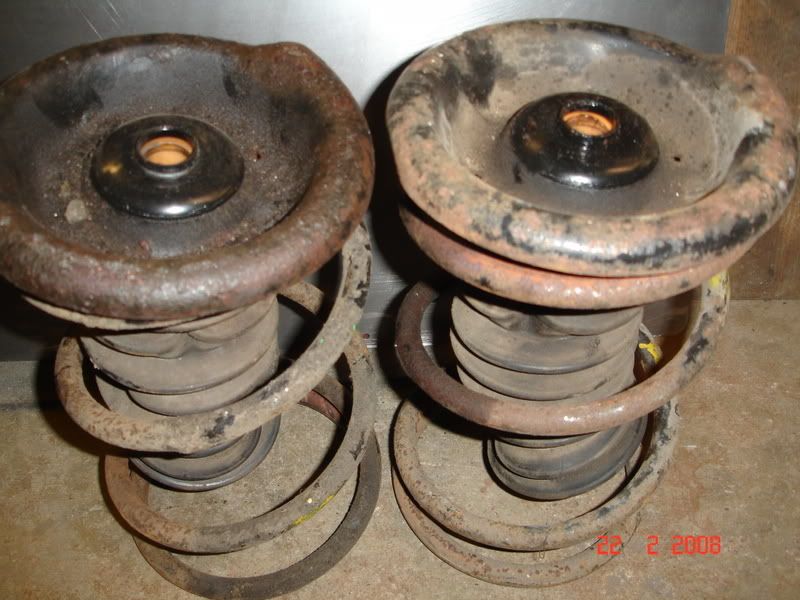 leaving just the leg and shocker assembly to strip down which is a pig of a messy job (I strongly recommend you do this over a large tray because this oil goes everywhere...I was covered in the blooming stuff)  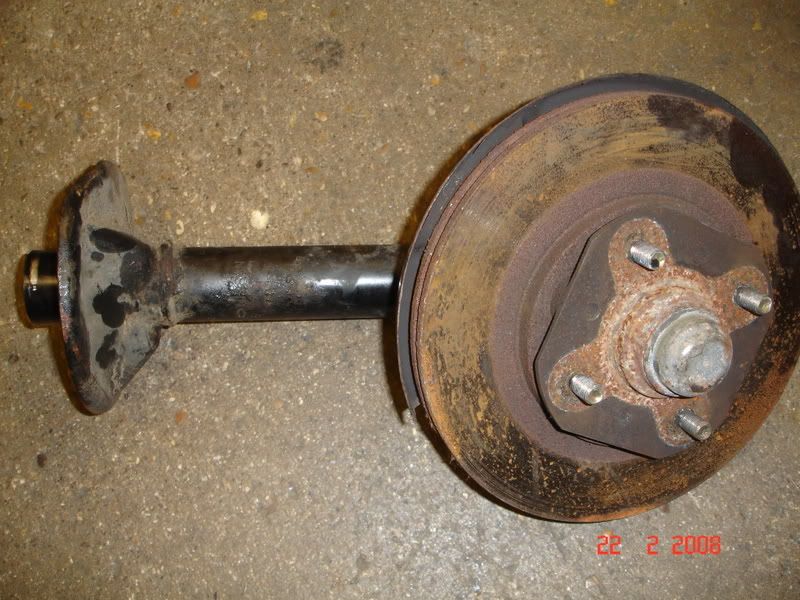 This is what the inserts look like (they look innocent don't they!) 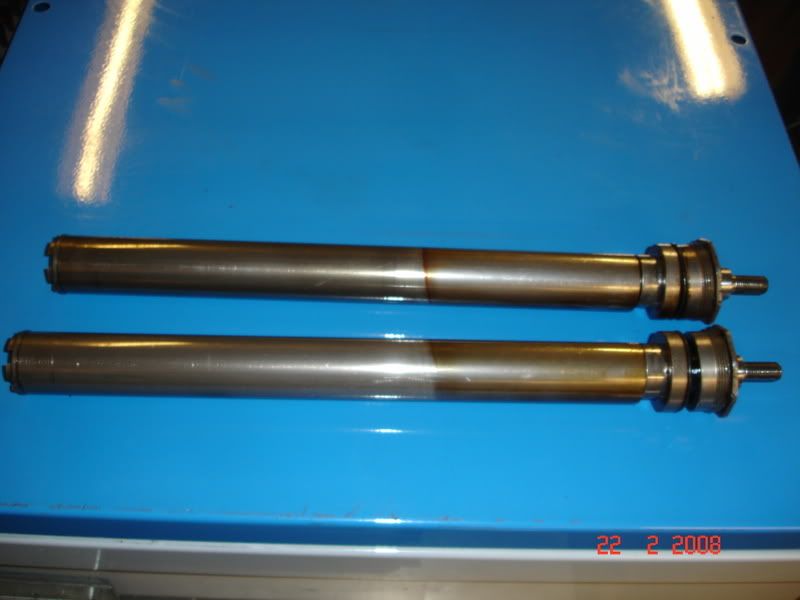 Now for the nice bit......I just love stuff coming in the post!!  I bought some 2 1/4" coilover converters from Rally Design for £57 delivered which consist of a threaded tube in mild steel with a bottom spring seat and locking ring and a top spring seating cap all in aluminium. Please note that a standard leg is 2" diameter (50.8mm) so the sets available from Demon Tweeks don't fit due to being 50mm! Also I bought a set of 1000 Lb pressure 5" long 2 1/4" internal diameter springs and these did come from Demon tweeks at a cost of £67 delivered, this was because Rally design only go up to 600Lb springs. We don't want any body roll for drifting so that's what we went for. ( the guy said why don't you just put in solid bars!!!  ) )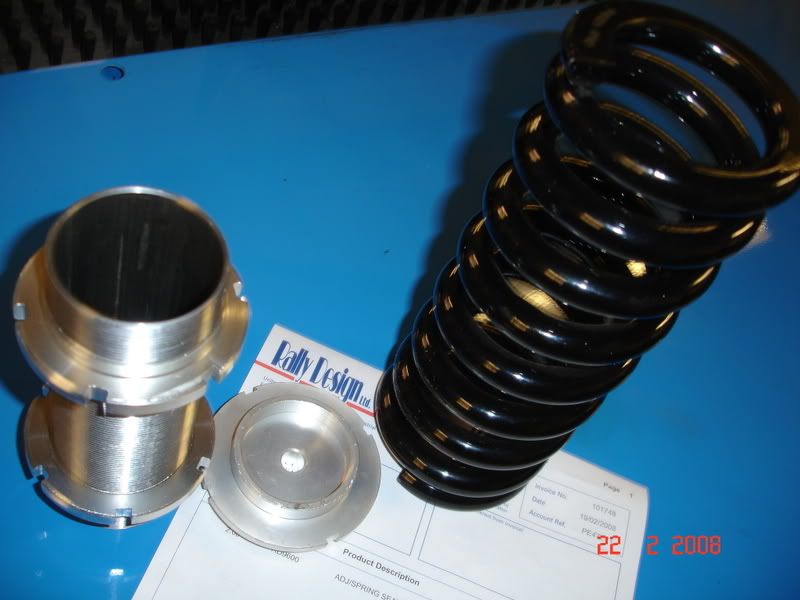 Next was to cut the standard bottom caps off with a disc cutter, be careful not to go to deep with your cutting as you want to keep the integrety of the leg sound/leak proof. 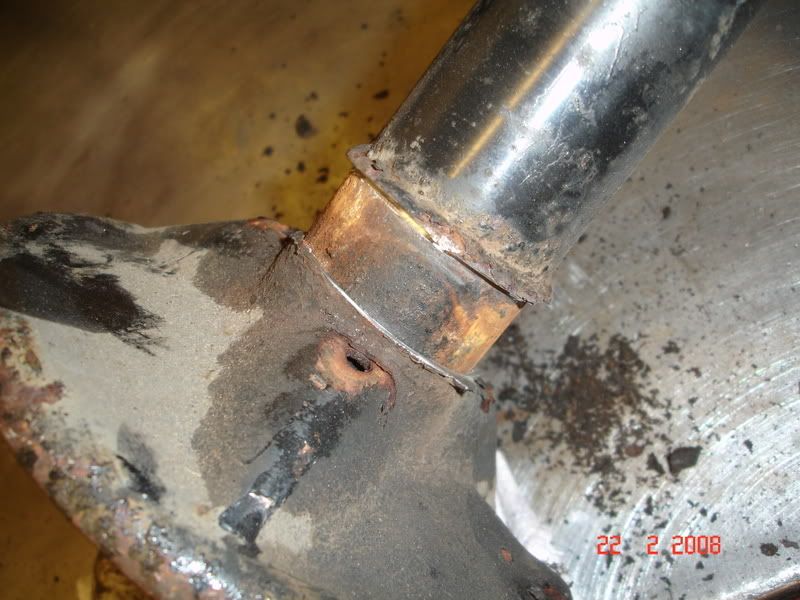 Next grind the weld off using a fine sanding disc and take your time to minimise damage to the leg, then I used a scotch brite disc(a wire wheel would do the trick too) to buff the paint off in the area the tube will cover as it is a tight fit. 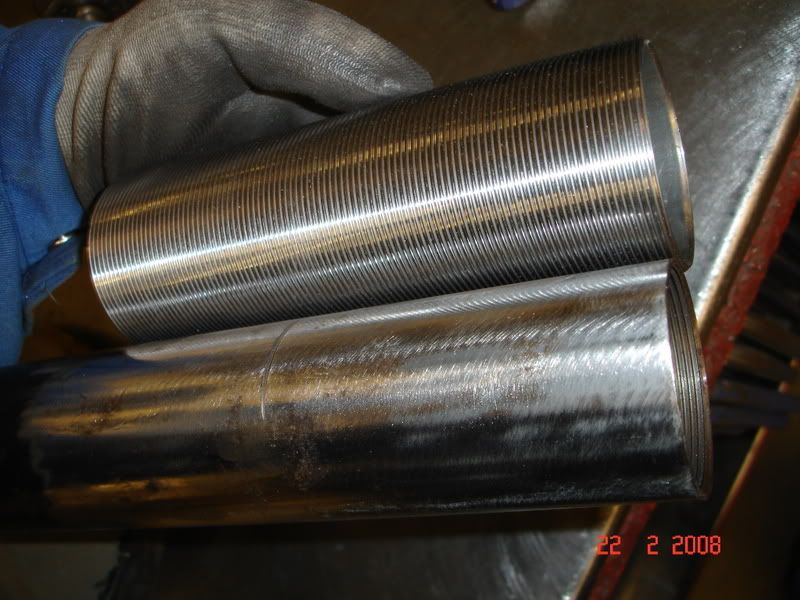 I hammered the sleave on with a rubber hammer to ensure no damage to the threads letting it sit very slightly lower than the top of the leg tube. 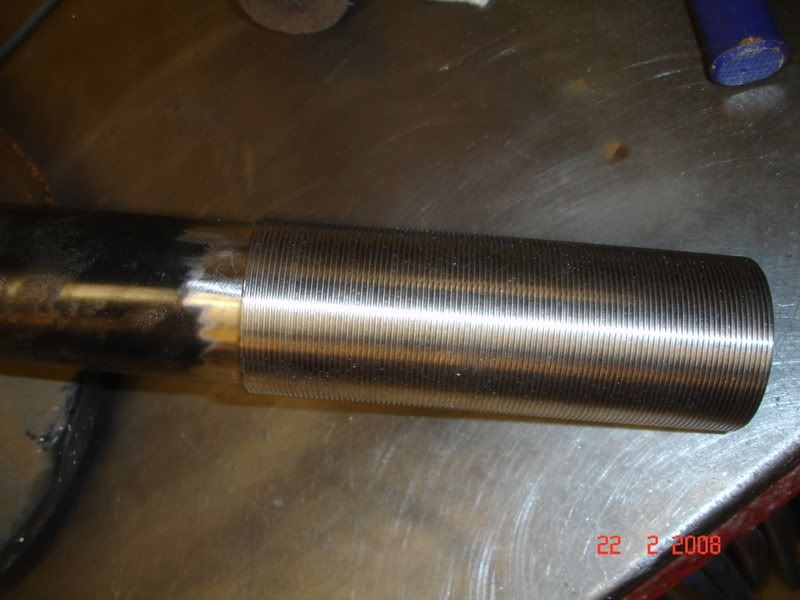 Next soak the thread in anti spatter spray, and carefully weld on the bottom edge only. Making sure that you don't burn through the tube into the oil resevoir. There is no need to weld the top as there are threads both inside and out now, which you need to be un-harmed to allow the shock assembly to be replaced and for the coilover adjuster rings to start ok. 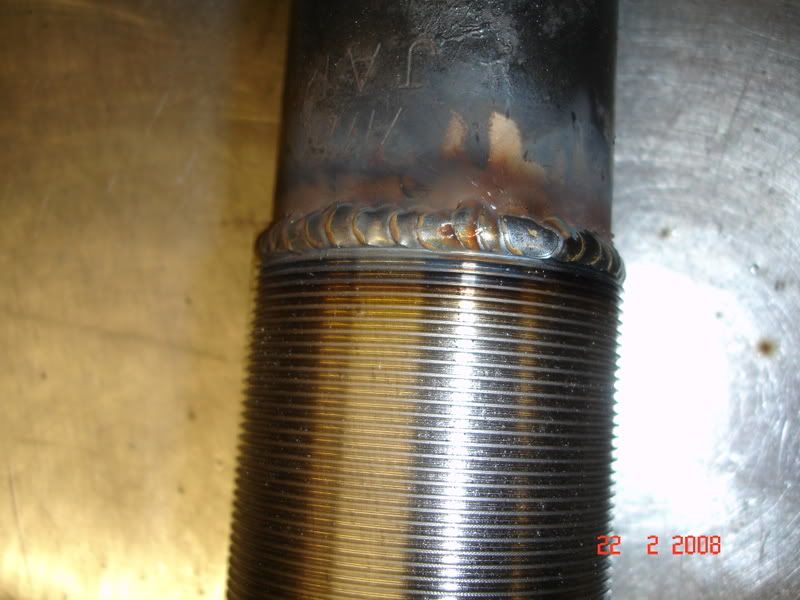 Now you are ready to assemble the shock replacing with fresh extra heavy duty fork oil(for motorbikes normally!) and re-build the leg. Lob it on the car Adjust the ride height equal number of revolutions and thats it, job well done all for a fraction of the cost of someone like GAZ shocks to convert them (I was quoted £650!!)  Now we have got the car ready for it's first outing which will be soon and the car has been completed under budget of £1000. So I'm very happy. Hans and Paul. Last edited by H8NSKPAUL; 08-03-2008 at 18:14. |
|
|